

Adjustable Dog Wheelchair | Pet Assistance Walking Wheels
Estimated Delivery between July 04 and July 07.
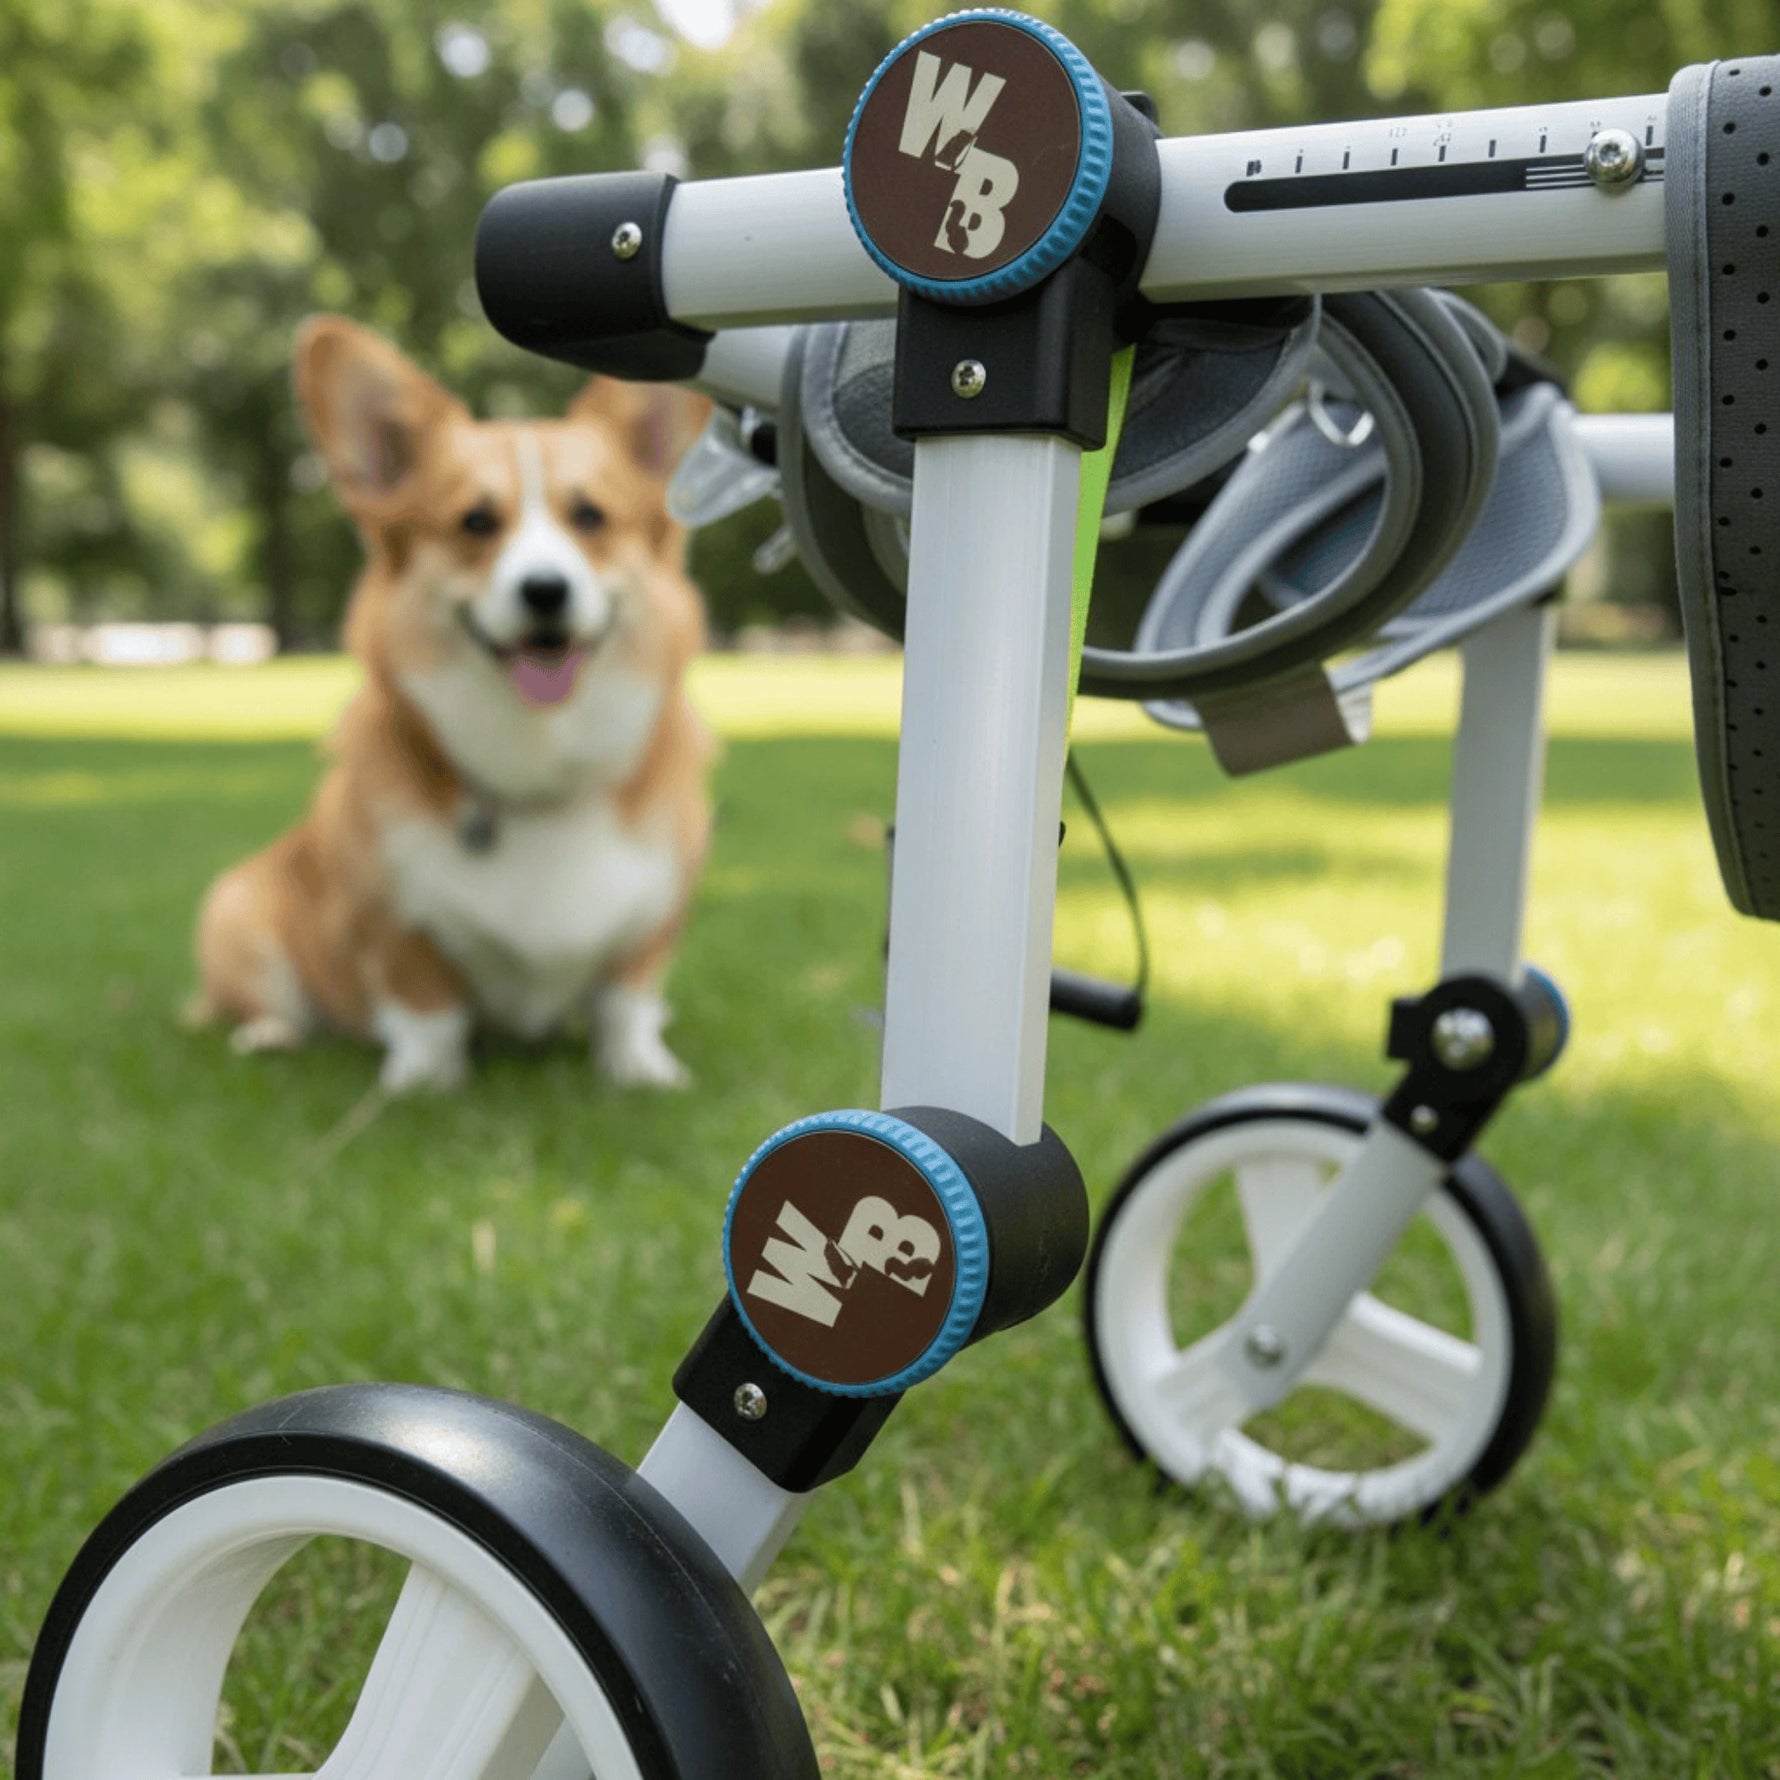
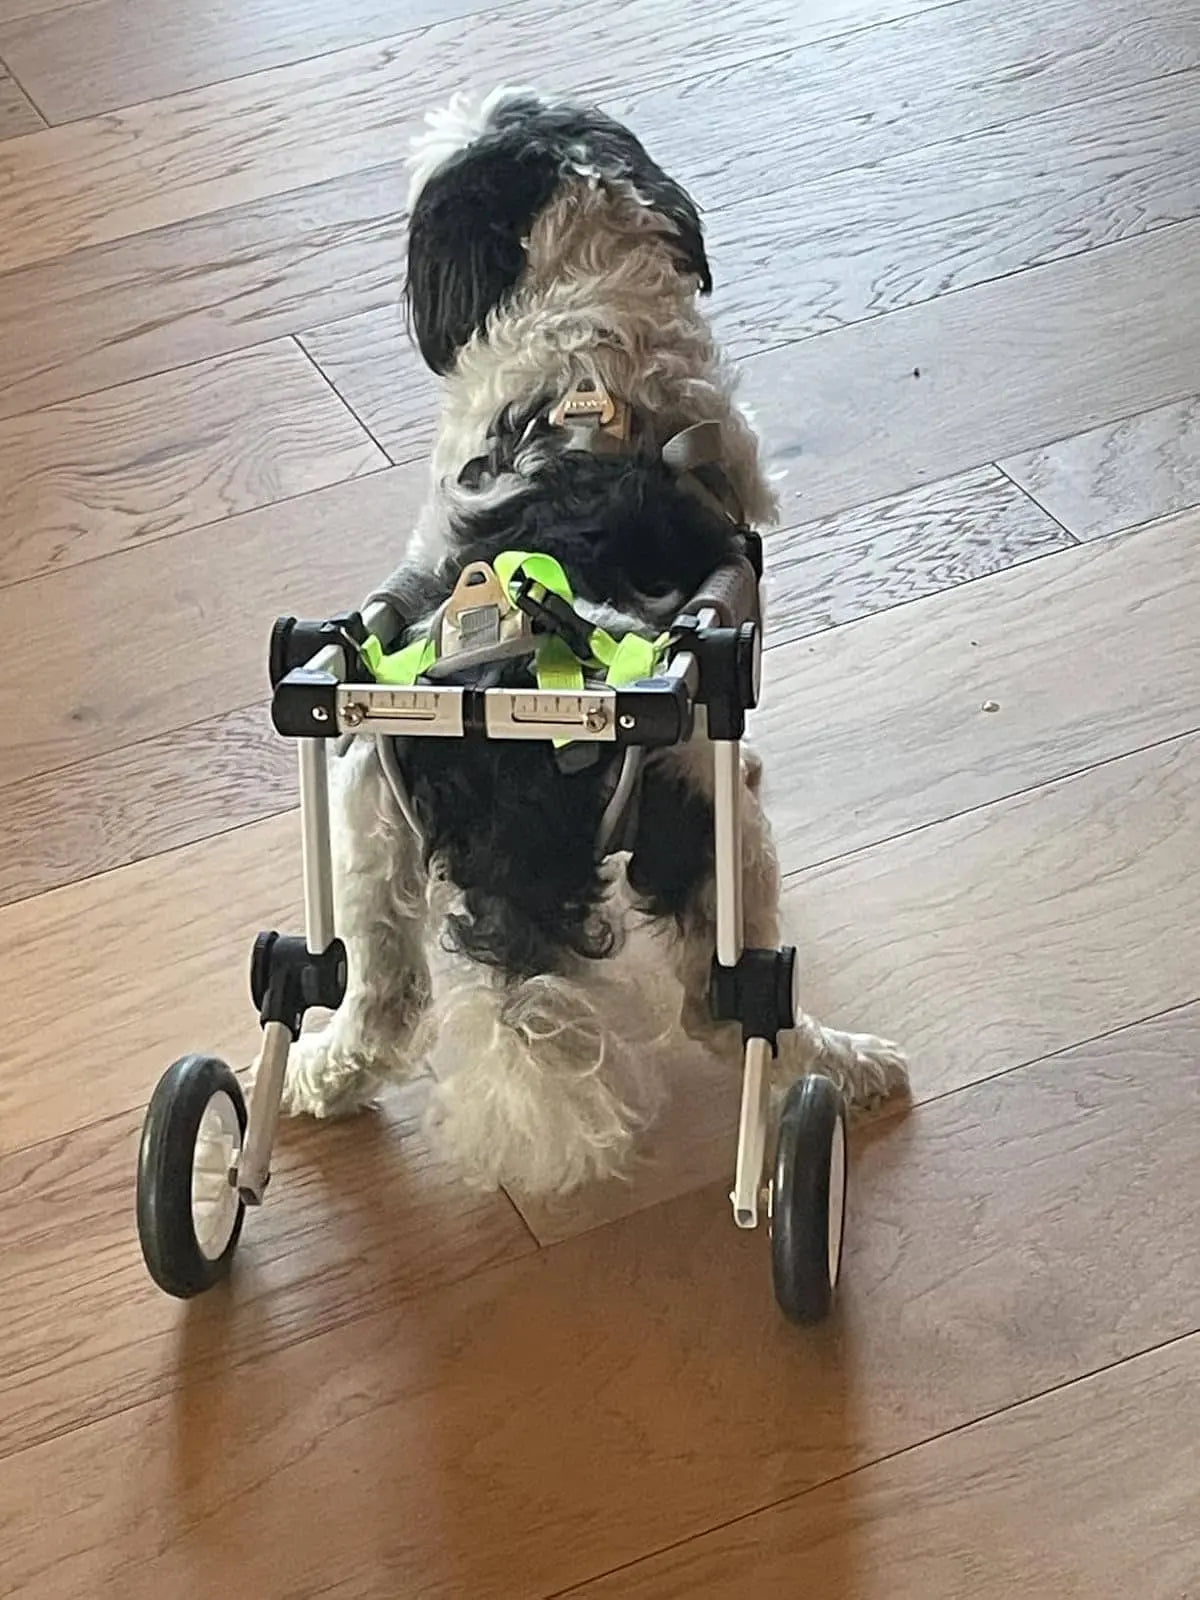
Give your dog their freedom back with the Whisker Bark Adjustable Dog Wheelchair, a durable, lightweight mobility aid designed to help pets walk, play, and explore again. Made from stainless steel, this supportive frame is both sturdy and easy to handle, ensuring long-term comfort and stability for small to medium breeds.
The wheelchair adjusts in height, length, and width, so it fits your pet perfectly as they recover or grow stronger. Its rubber, all-terrain wheels move smoothly across grass, gravel, or pavement, while the soft belly sling and rear leg supports keep your pup comfortable on every adventure.
With a bathroom-friendly design, pets can relieve themselves naturally without removing the frame, making daily life simpler for both of you. Plus, the built-in leash ring, foldable frame, and tool-free setup make it practical for travel, rehab, or everyday walks.
Whether your dog is recovering from surgery, dealing with arthritis, or has permanent mobility issues, this adjustable wheelchair helps them stay active and confident, because every pet deserves to keep moving forward.


Whisker Bark
Adjustable Dog Wheelchair | Pet Assistance Walking Wheels


Adjusts to Any Dog

Stainless Steel Frame

Rolls on Any Terrain

Potty-Friendly Design

Padded Comfort Harness

Freedom to Move Again
 Foldable
 Leash Ring
 Tool-Free Setup
 Easy to Clean
Find your Wheelchair Size
Answer a couple of quick measurements and we’ll recommend the best size. If you’re in between, we’ll nudge you to the safer option.
Questions? Email contact@whiskerbark.com and we’ll help you size it.
Give your dog their freedom back with the Whisker Bark Adjustable Dog Wheelchair, a durable, lightweight mobility aid designed to help pets walk, play, and explore again. Made from stainless steel, this supportive frame is both sturdy and easy to handle, ensuring long-term comfort and stability for small to medium breeds.
The wheelchair adjusts in height, length, and width, so it fits your pet perfectly as they recover or grow stronger. Its rubber, all-terrain wheels move smoothly across grass, gravel, or pavement, while the soft belly sling and rear leg supports keep your pup comfortable on every adventure.
With a bathroom-friendly design, pets can relieve themselves naturally without removing the frame, making daily life simpler for both of you. Plus, the built-in leash ring, foldable frame, and tool-free setup make it practical for travel, rehab, or everyday walks.
Whether your dog is recovering from surgery, dealing with arthritis, or has permanent mobility issues, this adjustable wheelchair helps them stay active and confident, because every pet deserves to keep moving forward.
Need help before you order?
Choose size or assembly instructions.
Materials & Care
Sort
Values
-
Wash Style
-
Hand Wash
Add further details to enrich you product information.
We want you and your pet to be completely happy. If something isn’t right, we make returns and exchanges simple and stress-free. Just reach out within 30 days of delivery and we’ll help you find the perfect solution.
Whisker Bark is built on a love for pets and their well-being. From supporting local shelters to lending a paw at community events, we look for ways to give back and help pets live safer, happier lives.

Made for Dogs Who Need a Little Help
Our adjustable wheelchair is designed to support dogs facing a wide range of mobility challenges. If your dog struggles with any of the following, this wheelchair can help them move freely again.
Hind leg weakness or paralysis
For dogs who've lost strength or function in their back legs.
IVDD & spinal recovery
Supports dogs recovering from disc disease or spinal surgery.
Degenerative myelopathy
Helps dogs with progressive neurological conditions stay active.
Hip dysplasia & arthritis
Reduces joint strain so they can keep enjoying their walks.
Senior dogs with mobility loss
Gives older pups the support they need to stay independent.
Amputation rehabilitation
Helps three-legged dogs regain balance and confidence.
Made to Move. Built to Last

Adjustable in Every Way
Built with Stainless Steel Strength
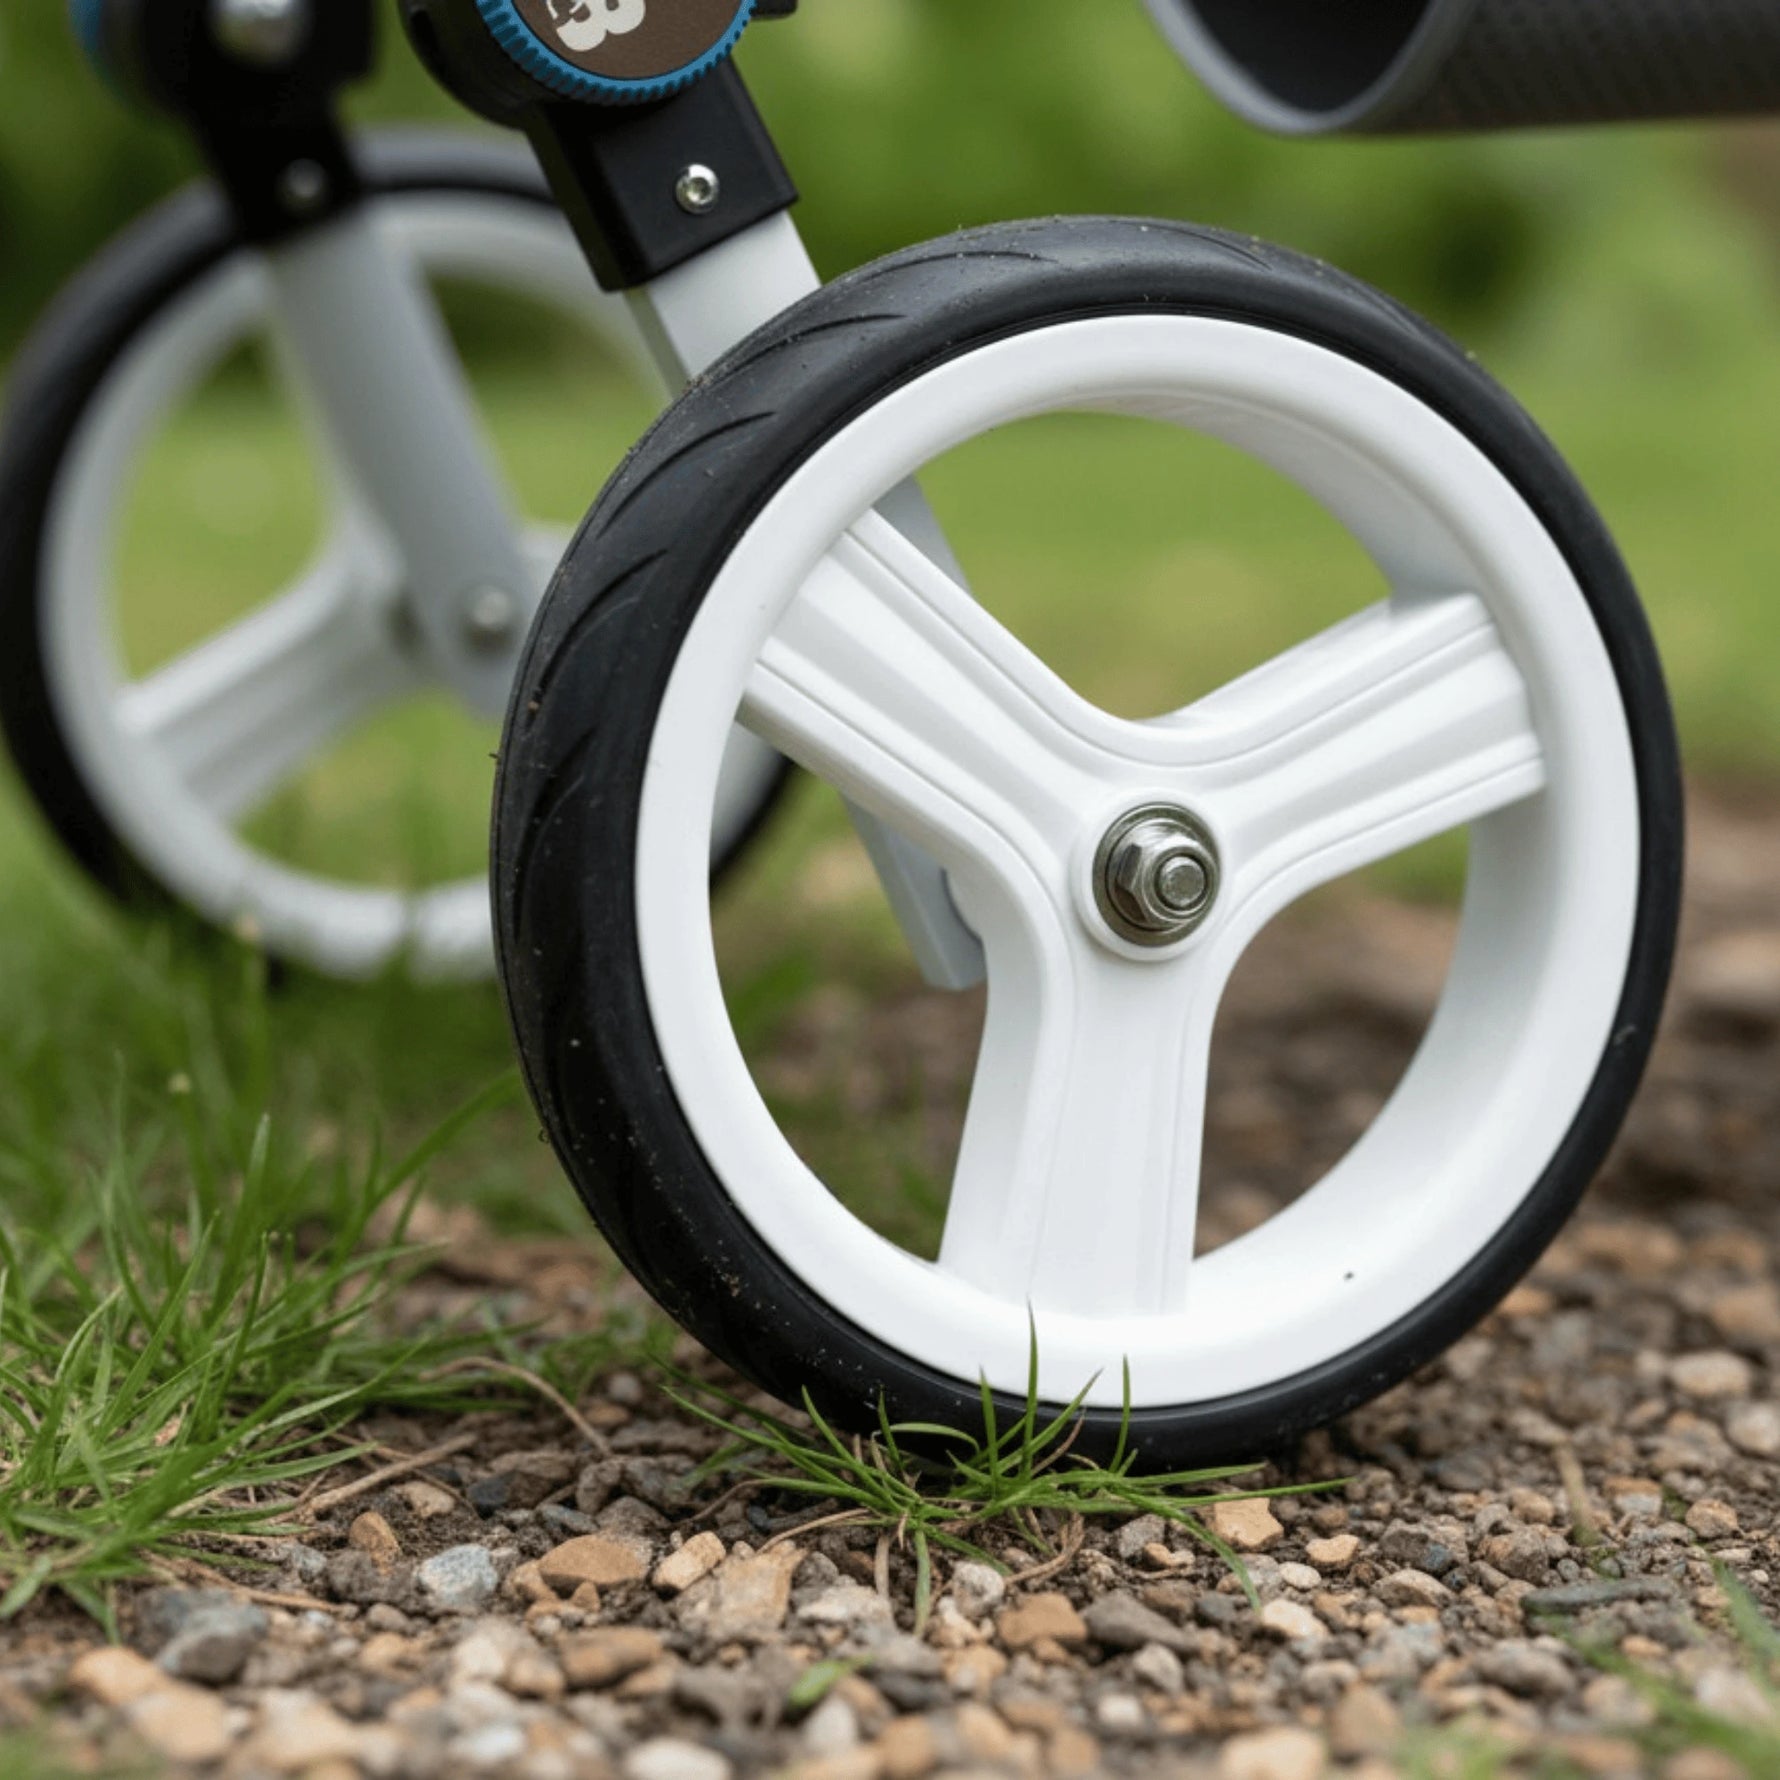
All-Terrain Rubber Wheels

Freedom to Play Naturally
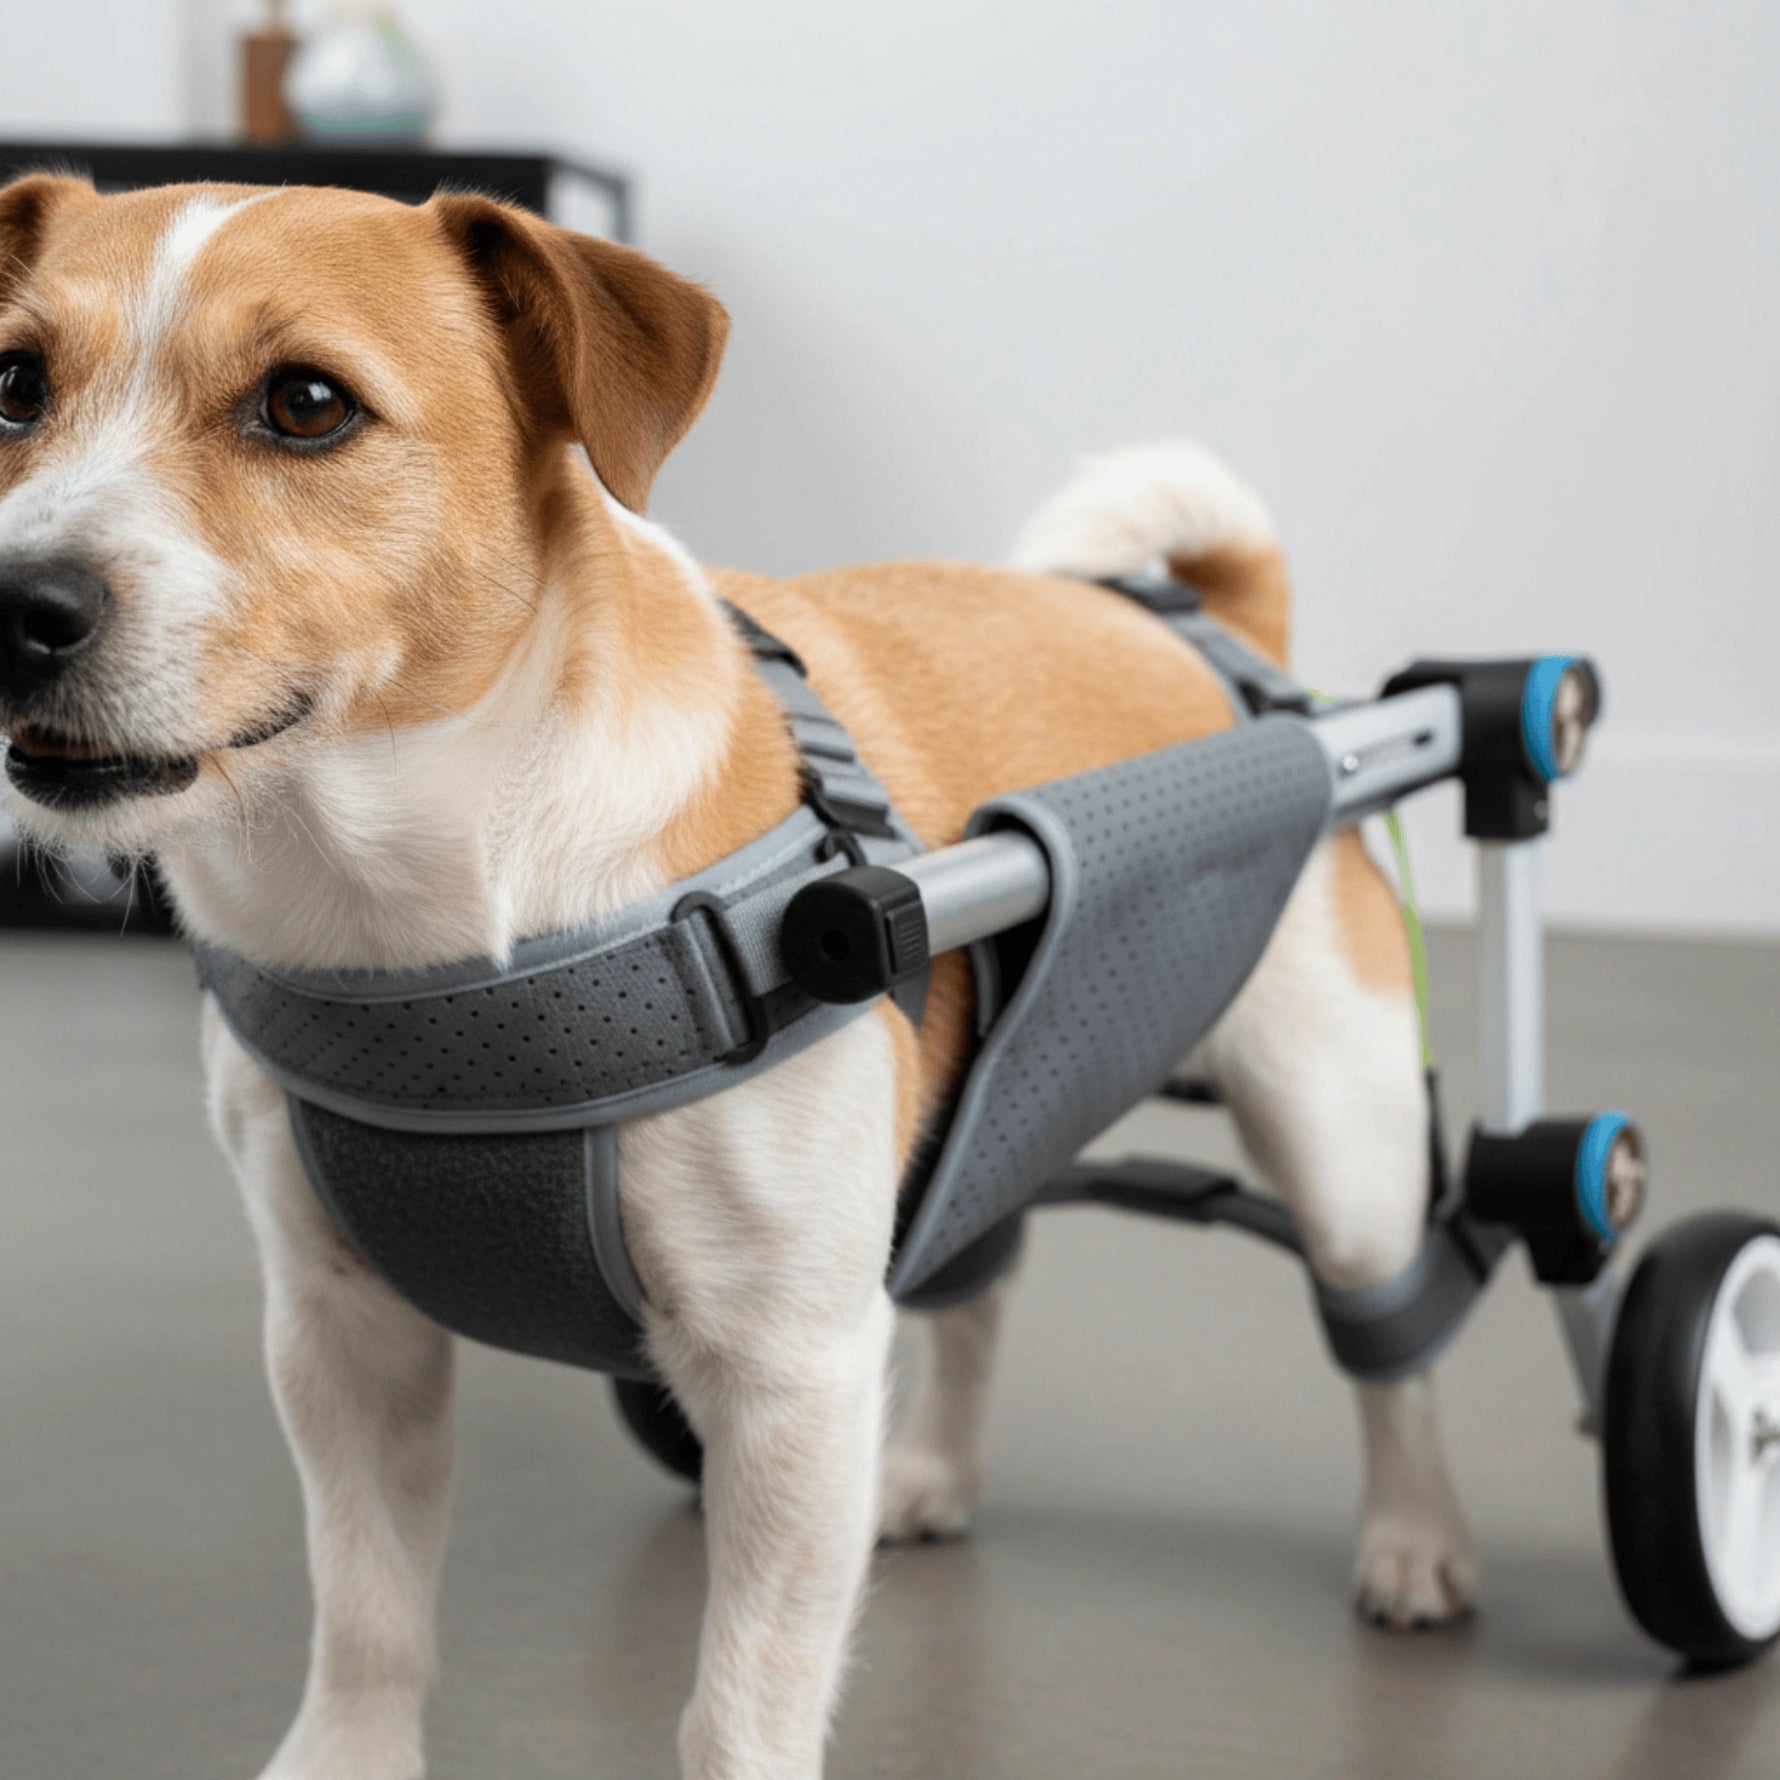
Support That Feels Natural
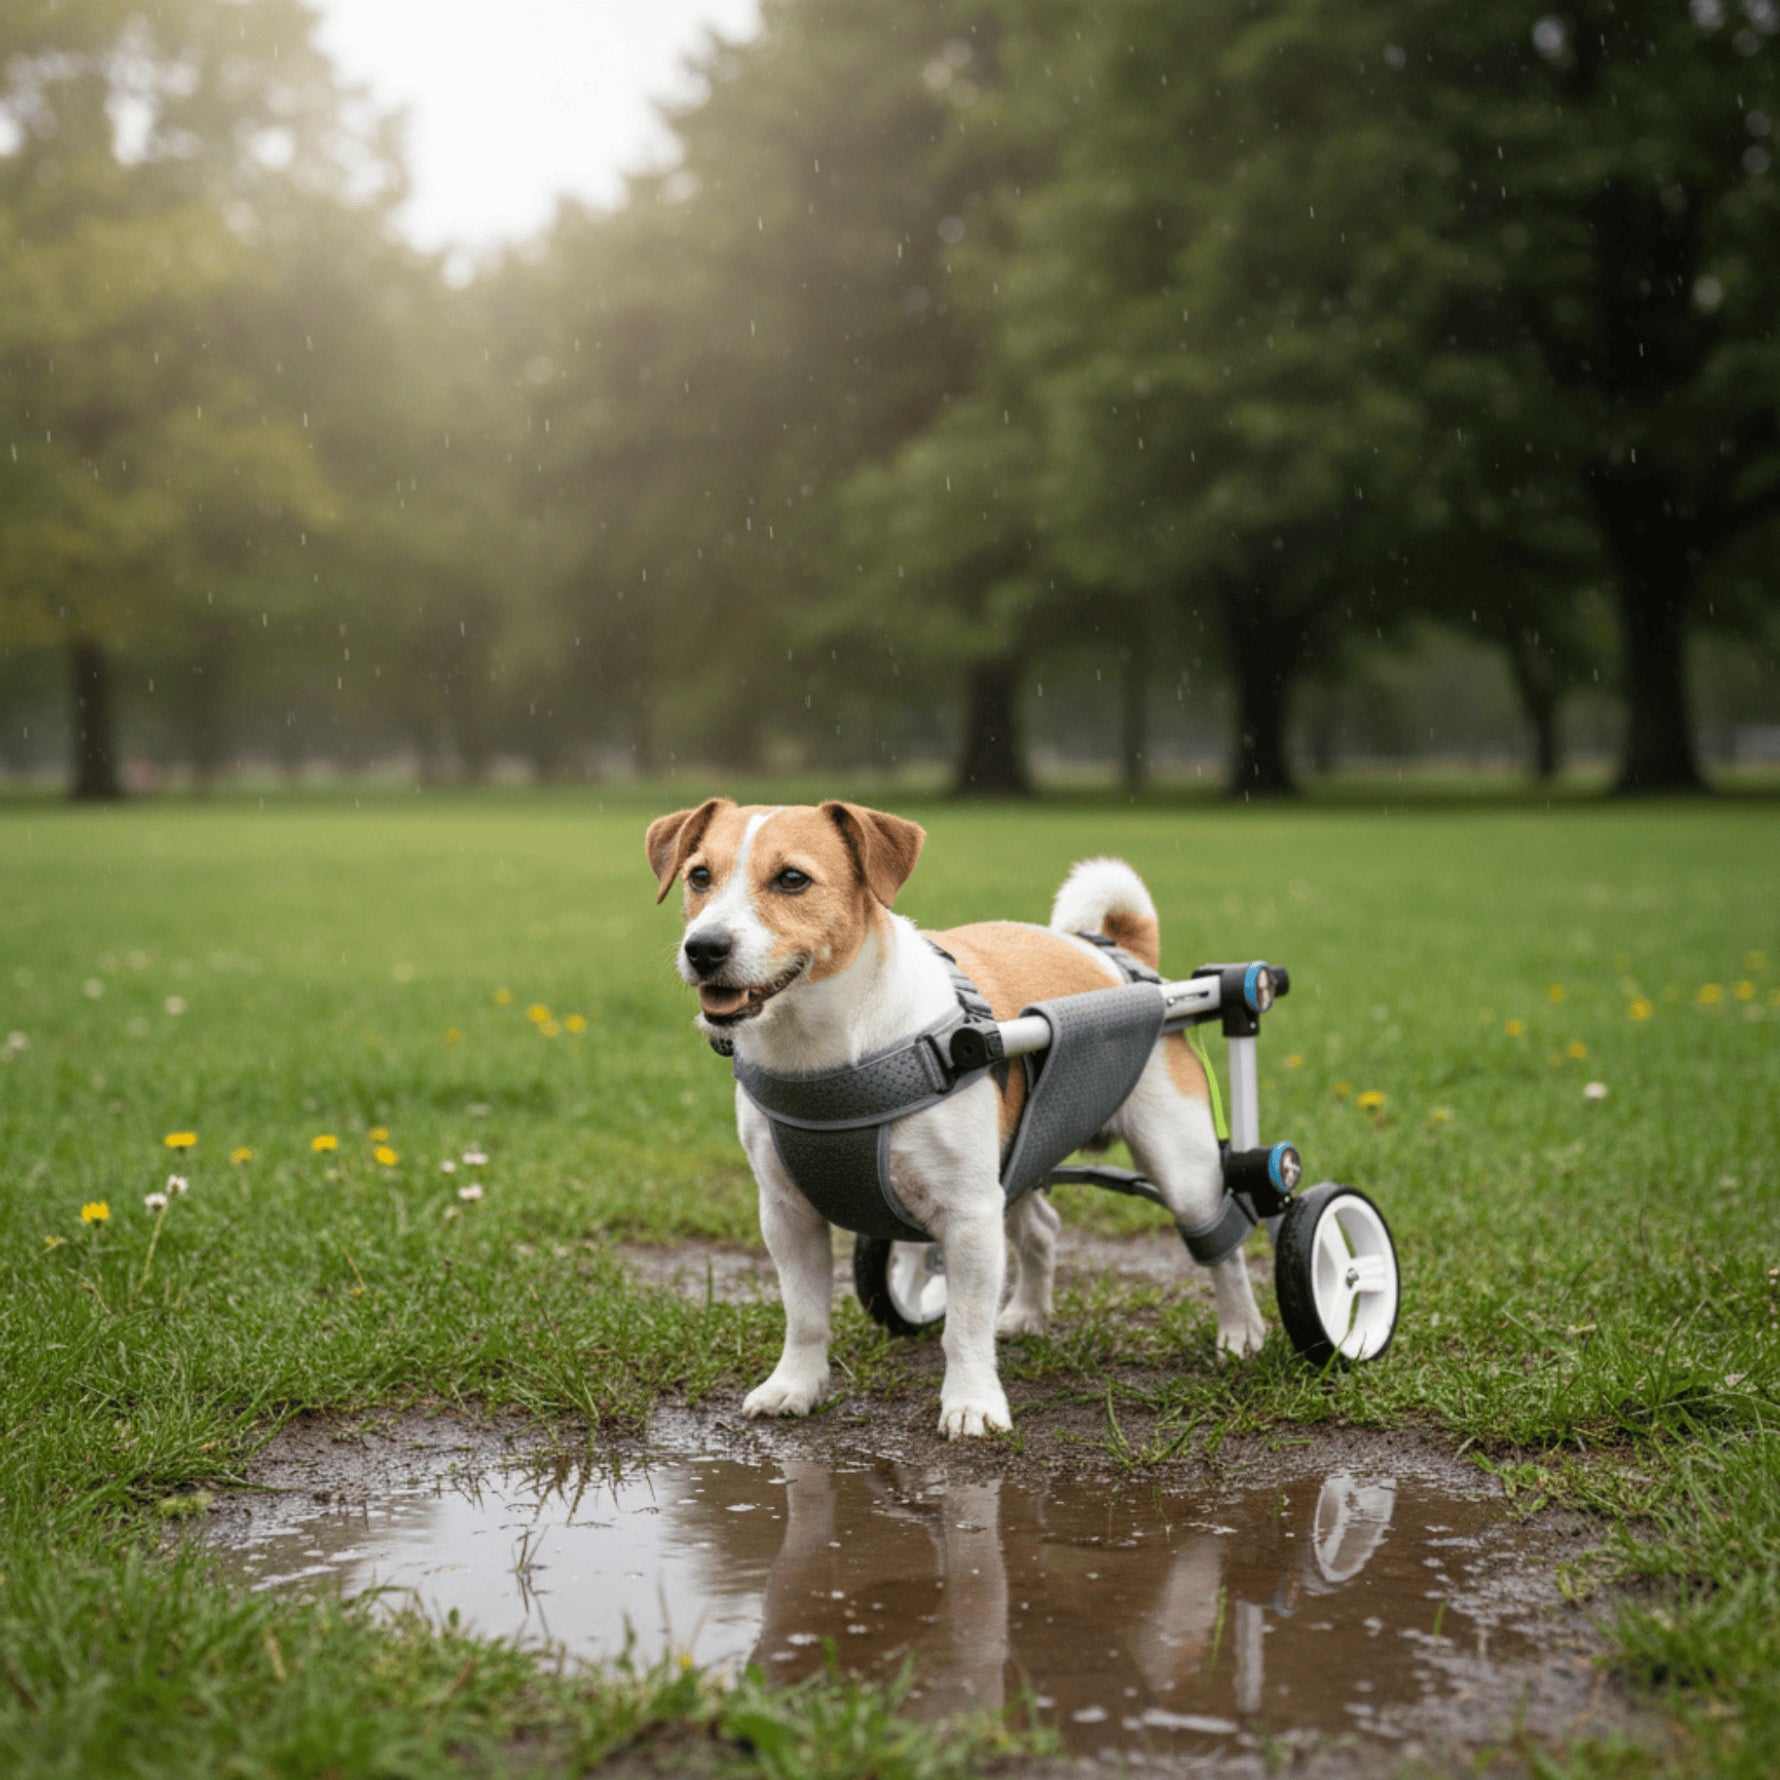
Ready for Any Adventure
Us vs Them
Freedom to Move, Comfort to Thrive


Built for Every Terrain

Lightweight, Heavy-Duty Frame

Customizable Comfort

Vet-Trusted Design
Forget the rest! This one is the best!
After my old wheelchair failed, I tried this one and couldn’t be happier. It’s easy to assemble, super secure, and the belly support keeps my Shih Tzu stable and comfortable. He can finally move, my Shih Tzu is 12lb and the XS size fits perfect for him
Danielle W.
Customers also loved


Example product
$30.00
FAQs
🚗 Fit & Use
🛡️ Durability & Materials
🐾 Safety & Compatibility
Recommended Blogs

How to Talk to Your Vet About IVDD and Wheelchair Use

How To Talk To Your Vet About Hip Dysplasia And Mobility Support

Large Breed Hip Dysplasia: Signs and Support for Big Dogs